To stretch an Excel spreadsheet to full page, click on the “View” tab and select “Page Layout View.” Adjust the columns and rows to fit the entire page.
Stretching an Excel spreadsheet to full page allows for better visibility and readability of data. By following a few simple steps within Excel, you can ensure that your spreadsheet is optimized for viewing and printing purposes. Whether you’re presenting data or simply need it to be more easily readable, stretching your Excel sheet to full page can greatly enhance the overall user experience.
This guide will walk you through the process of stretching an Excel spreadsheet to fit a full page, making your data more accessible and professional-looking.
Credit: www.wps.com
Adjusting The Page Layout
Adjusting the page layout of an Excel spreadsheet is essential for ensuring optimal readability and presentation. By making simple adjustments such as scaling, changing page orientation, and setting margins, you can effectively stretch the Excel spreadsheet to a full page and enhance its overall appearance.
Scaling The Spreadsheet
Scaling the spreadsheet allows you to adjust the size of the content to fit the entire page. To do this, navigate to the ‘Page Layout’ tab, click on the ‘Scale to Fit’ group, and then select the desired percentage in the ‘Width’ and ‘Height’ boxes. This will resize the spreadsheet to fit the entire page without compromising the integrity of your data.
Changing Page Orientation
Changing the page orientation can be helpful when dealing with wider or more extensive spreadsheets. To alter the orientation, go to the ‘Page Layout’ tab and click on the ‘Orientation’ option. Select either ‘Portrait’ or ‘Landscape’ based on your requirements. This adjustment will optimize the layout of your spreadsheet and make it more visually accessible.
Setting Margins
Setting margins is crucial for providing adequate spacing and ensuring content does not get cut off during printing. To adjust the margins, navigate to the ‘Page Layout’ tab, click on the ‘Margins’ option, and select either predefined margin settings or customize your own. This will allow you to control the spacing around the edges of the page and enhance the overall appearance of your spreadsheet.

Credit: support.microsoft.com
Customizing The Print Settings
When it comes to optimizing your Excel spreadsheet for printing, customizing the print settings is key. By adjusting the print options, you can ensure that your spreadsheet fits perfectly on the page when printed. Let’s dive into the details of how to stretch your Excel spreadsheet to full page by customizing the print settings.
Choosing Print Area
To begin, select the specific area of your spreadsheet that you want to print. This can be done by highlighting the cells or range of cells that you wish to include. By choosing the print area, you can ensure that only the necessary data is printed, avoiding any unnecessary information cluttering the page.
Adjusting Print Options
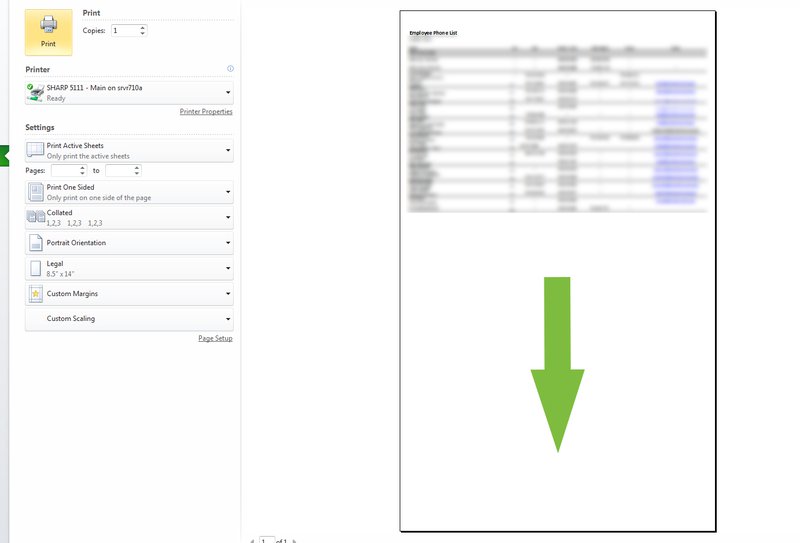
Next, adjust the print options to fit your spreadsheet to a full page. This can be done by changing settings such as orientation, margins, scaling, and page layout. Experiment with these options to find the combination that best suits your spreadsheet and allows it to stretch to a full page when printed.
Additional Tips And Tricks
Discover additional tips and tricks for stretching an Excel spreadsheet to cover the full page. Easy-to-follow methods will help you utilize the entire screen space and enhance your viewing experience. Gain valuable insights to efficiently manage your spreadsheets with these useful strategies.
Additional Tips and Tricks Using Page Break Preview In Excel, go to View tab and select Page Break Preview to see how your spreadsheet will be divided for printing. Fitting Larger Spreadsheets on One Page To fit a larger spreadsheet on one page, adjust the page layout settings like margins, orientation, or scaling. Applying These Tips Utilize Page Break Preview to visualize print layout. Adjust settings to fit large spreadsheets on a single page.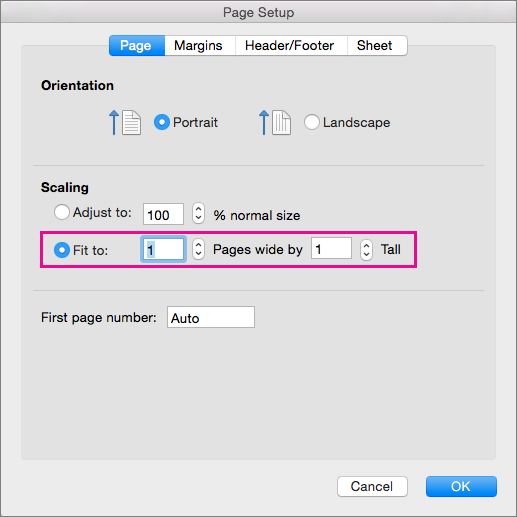
Credit: support.microsoft.com
Frequently Asked Questions On How To Stretch Excel Spreadsheet To Full Page
How Do I Make An Excel Spreadsheet Fill The Whole Page?
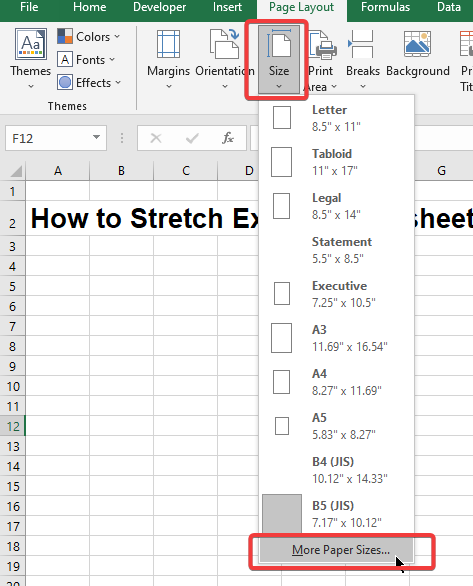
To make an Excel spreadsheet fill the whole page, go to the “Page Layout” tab, click on the “Size” button, and select “Fit to: 1 page(s) wide by 1 tall”. This will adjust the spreadsheet to fit the entire page.
How Do You Stretch To Fit A Full Page In Excel?
To stretch a full page in Excel, select the desired rows and columns, click on the “Home” tab, and under the “Format” option, choose “AutoFit Row Height” for rows and “AutoFit Column Width” for columns. This will adjust the size to fit the entire page.
How Do I Expand An Excel Spreadsheet To Full Screen?
To expand an Excel spreadsheet to full screen, simply click on the View tab and then select Full Screen View. This will maximize the spreadsheet to fill the entire screen for a better viewing experience.
How Do I Make An Excel Spreadsheet Fit 8.5 X11?
To make an Excel spreadsheet fit 8. 5 x 11, adjust the page layout settings in the print menu. Go to File > Print > Page Setup, set the paper size to 8. 5 x 11, and adjust margins as needed.
Then, preview and print your spreadsheet.
Conclusion
Stretching an Excel spreadsheet to full page can enhance visibility and make data more accessible. By following the techniques outlined in this post, you can effectively utilize the full potential of Excel for your data presentation needs. Implementing these strategies will allow you to create more professional and impactful spreadsheets.