To make a graph in Google Sheets with multiple lines, select your data, click “Insert” and choose the line chart option. In Google Sheets, creating a graph with multiple lines is a straightforward process that can help visualize data trends and comparisons effectively.
You can input your data, select the ranges you want to graph, and customize the chart to display your information accurately. With the flexibility and user-friendly interface of Google Sheets, users can easily create professional-looking graphs with multiple lines to analyze their data efficiently.
Additionally, the ability to collaborate and share these graphs in real-time makes Google Sheets a valuable tool for teams working on data visualization projects.
Why Use Google Sheets For Graphs
Google Sheets is a powerful tool for creating and visualizing data, and it is particularly useful for making graphs with multiple lines. There are several reasons why using Google Sheets for creating graphs is beneficial. In this section, we will explore the advantages of utilizing Google Sheets for graphs, focusing on the key aspects of convenience, accessibility, and collaboration.
Convenience
Google Sheets offers a user-friendly interface that allows you to easily create and customize graphs with multiple lines. With its intuitive features, you can quickly input data, choose different graph types, and adjust settings to meet your specific requirements.
Accessibility
One of the significant benefits of using Google Sheets for graphs is its accessibility. As a cloud-based platform, Google Sheets enables you to access and edit your graphs from any device with an internet connection. This means you can work on your graphs seamlessly, whether you’re at your desk or on the go.
Collaboration
Google Sheets facilitates seamless collaboration, allowing multiple users to work on graphs simultaneously. By sharing your graph with colleagues or team members, everyone can contribute, make edits, and provide input in real time, streamlining the collaborative process.

Credit: www.statology.org
Preparing Your Data
When it comes to creating a graph with multiple lines in Google Sheets, proper data preparation is key. Preparing your data correctly ensures that your graph will be accurate and easy to interpret.
Format Your Data
Before creating your graph, make sure your data is formatted properly in Google Sheets. Each column should represent a distinct series or category for your lines.
Organize Your Data
- Ensure your data is well-organized in rows and columns. Each row should correspond to a specific data point and each column to a particular metric.
- Label your columns clearly to avoid confusion when creating your graph. Use descriptive headers that accurately reflect the data they contain.
Include Data Labels
- Add data labels to your graph to provide context and make it easier for viewers to understand the information presented.
- Ensure your labels are concise yet informative, clearly indicating the values represented by each line on the graph.
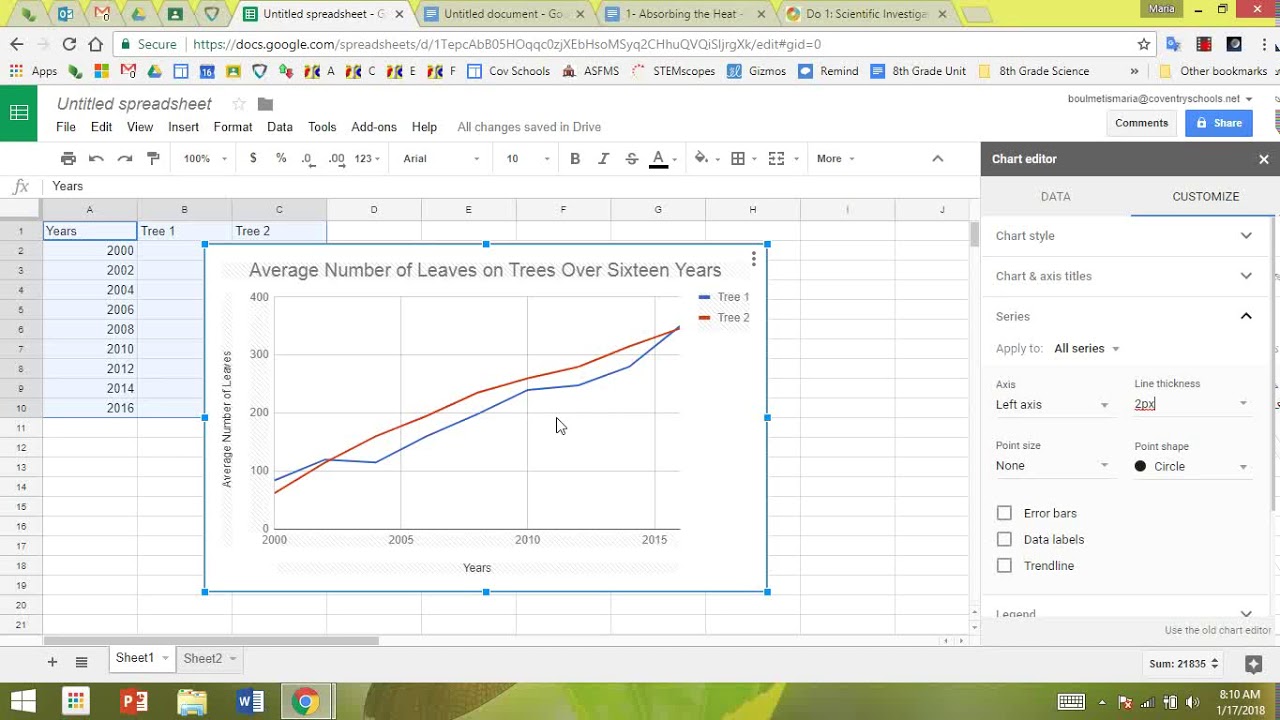
Creating The Graph
Learn how to create a graph with multiple lines in Google Sheets for effective data representation. Simplify the process by following these step-by-step instructions.
Creating the Graph Choosing multiple lines in a graph can visually represent data trends effectively. Below are the steps to create a graph in Google Sheets with multiple lines.Select Your Data
– Highlight the data range you want to include in the graph. – Include all the columns with relevant data for each line.Choose The Chart Type
– Go to the “Insert” menu and select “Chart.” – Choose the “Line chart” option to create a graph with multiple lines.Customize The Chart
– Adjust the chart settings like title, axis labels, and colors. – Explore options to enhance the visualization of your data. Remember, clear and concise visual representation of data through multiple lines will help in better understanding and analysis.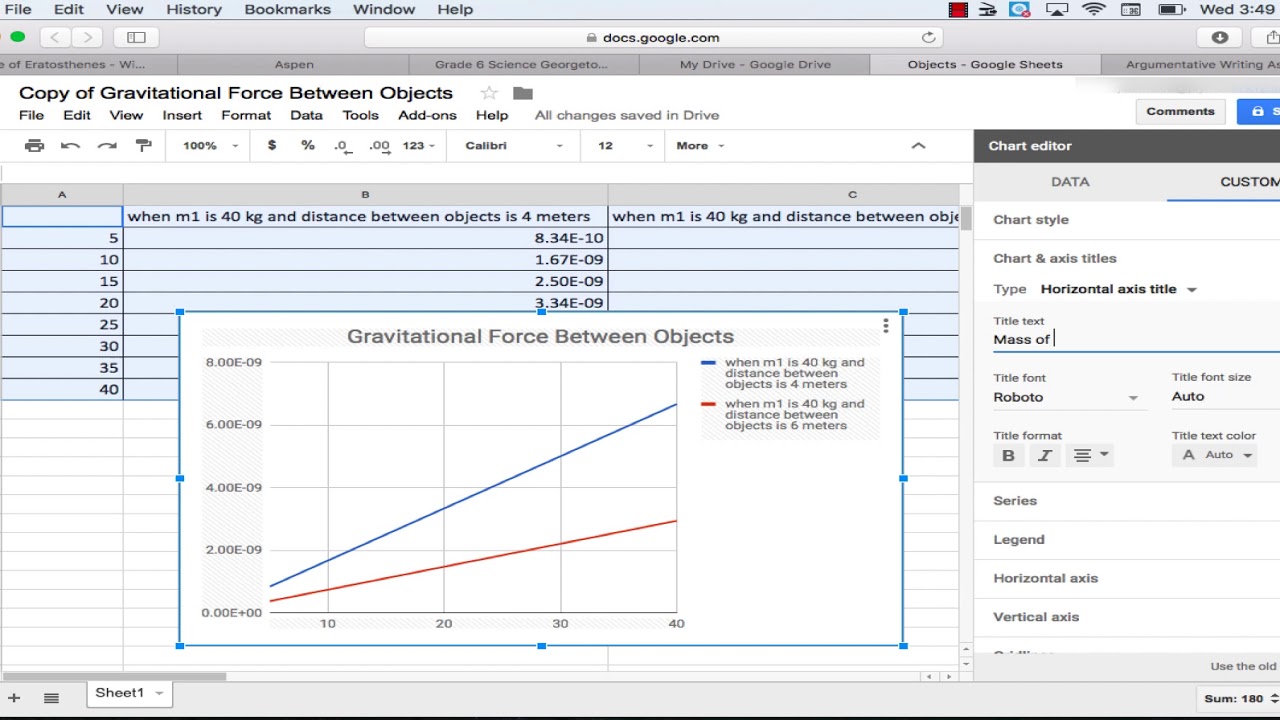
Credit: www.youtube.com
Adding Multiple Lines
When it comes to creating a graph in Google Sheets with multiple lines, adding multiple lines is a crucial step that allows you to present various data sets within the same chart. By adding multiple lines, you can easily compare different trends or variables, making your graph more informative and visually engaging.
Create Additional Series
To add multiple lines to your graph in Google Sheets, you can create additional series by simply selecting the data you want to include in the chart. Once you have selected the data, go to the “Insert” menu and choose “Chart.” This will allow you to create a new chart with the additional series included, giving you a comprehensive view of your data.
Specify Data Ranges
To specify the data ranges for the additional series, you can use the “Customize” option within the Chart editor. This will enable you to define the range for each series, ensuring that the correct data is represented in your graph. By specifying the data ranges, you can ensure that your chart accurately reflects the information you want to convey.
Edit Series Formatting
Editing series formatting is essential for enhancing the visual appeal of your graph. Within the Chart editor, you can customize the appearance of each series by adjusting the colors, line styles, and markers. This allows you to differentiate between the multiple lines, making it easier for viewers to interpret the data. Additionally, you can adjust the axis labels and titles to provide context and clarity to your graph.
Enhancing Your Graph
Add Titles And Labels
To make your graph visually appealing and easy to understand, it’s important to add titles and labels. The titles give a clear indication of what the graph represents, while the labels provide necessary information about the x and y-axis.
Here’s how you can add titles and labels in Google Sheets:
- Select your graph by clicking on it.
- Click on the “Chart Editor” button that appears on the right side of the graph.
- In the Chart Editor, navigate to the “Customization” tab.
- Under the “Chart & Axis Titles” section, you can add a title for your graph and labels for the x and y-axis.
- Once you have entered the desired titles and labels, click on the “Apply” button to save your changes.
Adjust Axes And Gridlines
Adjusting the axes and gridlines can greatly enhance the clarity of your graph. It allows you to highlight specific data points, draw attention to trends, and provide a better understanding of the data being presented.
Follow these steps to adjust the axes and gridlines of your graph:
- Select your graph by clicking on it.
- Click on the “Chart Editor” button on the right side of the graph.
- In the Chart Editor, go to the “Customization” tab.
- Under the “Gridlines” section, you can choose whether to show or hide the horizontal and vertical gridlines.
- To adjust the axes, go to the “Axes” section and choose the desired options for the minimum and maximum values, as well as the gridlines interval.
- Click on the “Apply” button to save your changes.
Apply Styles And Themes
Applying styles and themes can make your graph more visually appealing and professional-looking. It allows you to customize colors, fonts, and other design elements to match your personal or brand preferences.
Here’s how you can apply styles and themes in Google Sheets:
- Select your graph by clicking on it.
- Click on the “Chart Editor” button on the right side of the graph.
- In the Chart Editor, go to the “Customization” tab.
- Under the “Chart Style” section, you can choose from pre-designed themes or customize the colors, fonts, and other visual elements.
- Once you have made the desired changes, click on the “Apply” button to save your custom style.

Credit: www.statology.org
Frequently Asked Questions On How To Make A Graph In Google Sheets With Multiple Lines
How Do I Put Multiple Lines On One Graph In Google Sheets?
To put multiple lines on one graph in Google Sheets, select the data you want to include, then go to “Insert” and choose “Chart. ” From the Chart editor, go to the “Customize” tab, and under “Series,” you can add more lines to the graph.
How Do You Make An Xy Graph In Google Sheets With Multiple Lines?
To make an XY graph in Google Sheets with multiple lines, select the data range, go to Insert, choose Chart, select XY, and Add a series for each line.
How Do I Plot Multiple Trend Lines In Google Sheets?
To plot multiple trend lines in Google Sheets, select the data range, click Insert, choose Chart, then select Customization, and add additional trendlines as needed.
How Do I Make A Multiple Bar Graph In Google Sheets?
To make a multiple bar graph in Google Sheets, select the data you want to include, click on “Insert” in the top menu, choose “Chart,” then select “Bar chart” and customize the chart to display multiple bars.
Conclusion
Mastering graphs in Google Sheets with multiple lines can enhance your data visualization skills. With the step-by-step guide provided, you can effectively communicate complex data. Remember to experiment with different chart types and formatting options to create compelling visual representations.
Keep practicing to become proficient in crafting visually appealing and informative graphs.