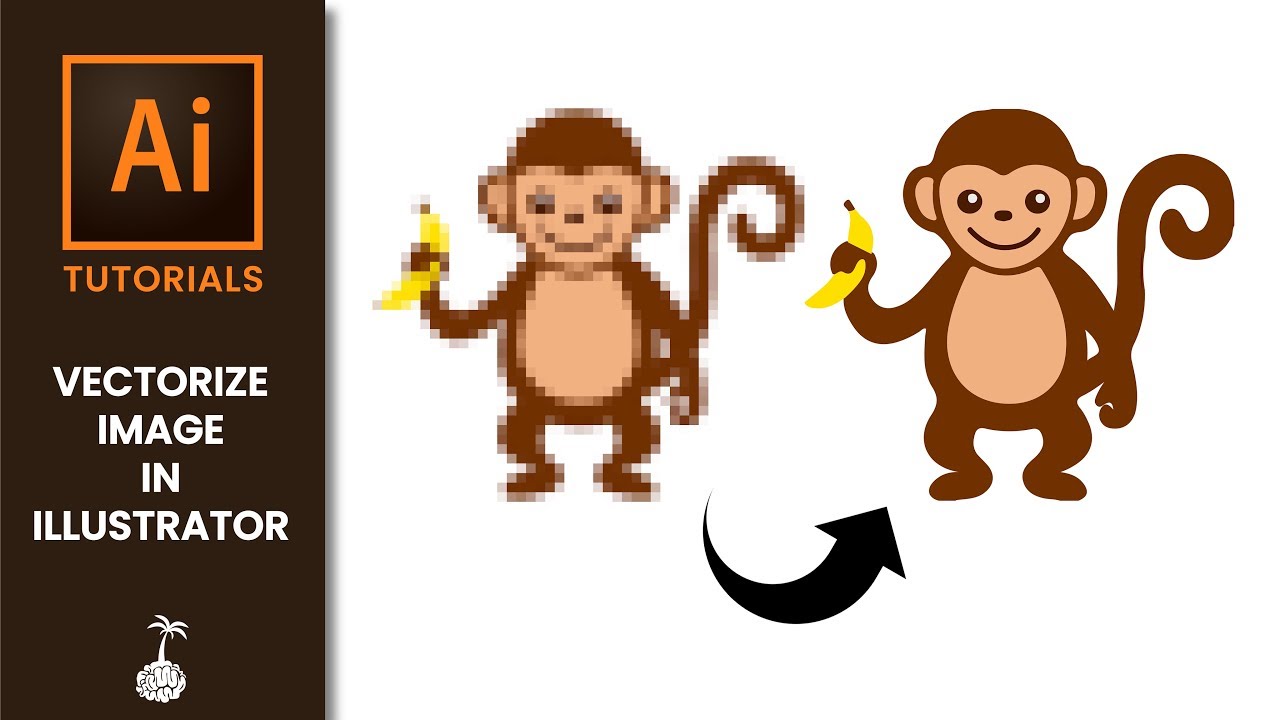
To vectorize an image, use software like Adobe Illustrator to convert raster images to scalable vectors. Vectorizing enables resizing without loss of quality, making images suitable for various applications.
In today’s digital age, visual content reigns supreme, with companies across industries relying on high-quality images to engage their audience. Vectorizing images has become essential for creating logos, graphics, and illustrations that maintain sharpness and clarity across different platforms. By converting pixel-based images into vectors, designers can ensure their artwork looks crisp and professional, whether it’s displayed on a website or printed on a large billboard.
Understanding how to vectorize images opens up a world of creative possibilities and ensures a visually appealing final product.
Credit: blog.photopea.com
Benefits Of Vectorizing Images
Vectorizing images offers several benefits that can significantly enhance your design and production processes. From scalability to file size, let’s explore the advantages of using vector images in more detail.
Scalability
Vector images can be scaled without losing quality. Whether you need to enlarge an image for a billboard or shrink it for a business card, vector graphics maintain clarity and sharpness at any size, making them ideal for versatile applications.
Quality
Vectorized images ensure crisp, clean lines and edges, resulting in high-quality visuals that are free of pixelation. This improves the overall aesthetic and professionalism of your design work, making it more appealing to the audience.
File Size
Unlike bitmap graphics, vector images have small file sizes as they are defined by mathematical equations rather than individual pixels. This means they are ideal for web, mobile, and other digital platforms where optimizing loading times and bandwidth is crucial.
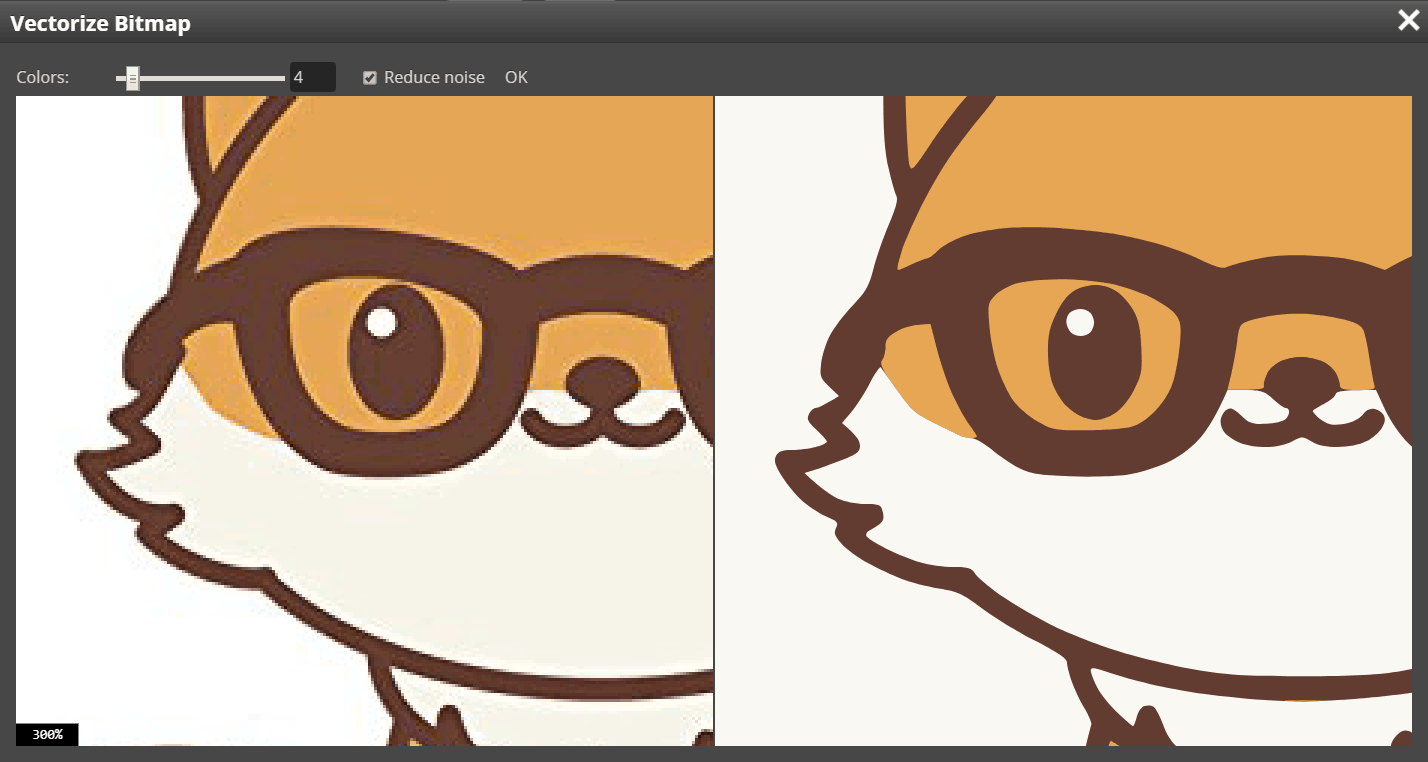
Credit: www.cre8iveskill.com
How To Vectorize An Image
Vectorizing an image is the process of converting a raster graphic into a scalable vector format. This allows for easy resizing without losing quality. There are several methods to vectorize an image, including using vector graphics software, tracing raster images, and manual vectorization.
Using Vector Graphics Software
Vector graphics software like Adobe Illustrator or CorelDRAW allows you to easily convert raster images to vectors. Simply open the image file in the software and use tools like the Pen Tool to trace over the edges and create vector paths.
Tracing Raster Images
Tracing raster images involves using software tools to automatically convert pixels into vector paths. This method can help speed up the vectorization process, especially for complex images with defined edges.
Manual Vectorization
Manual vectorization requires tracing the image by hand using vector tools to create precise vector paths. This method gives you full control over the vectorization process, ensuring accuracy and detail in the final vector image.
Choosing The Right Image File Format
The right image file format is crucial when vectorizing images. Choose the format that allows for scalability and maintains image quality for a seamless design experience.
Vector formats and raster formats are essential considerations when opting for the right image file format.Vector Formats
Vector images are composed of mathematical equations, enabling them to be scaled without losing quality. Vector formats are ideal for: – Logos – Illustrations – Infographics Popular vector formats include: 1. SVG 2. EPSRaster Formats
Raster images are composed of pixels, with a set resolution that can lead to quality loss upon scaling. Raster formats are suitable for: – Photographs – Detailed graphics Common raster formats include: 1. JPEG 2. PNG When selecting the right image file format, consider the purpose and scalability of the image to ensure optimal visual representation.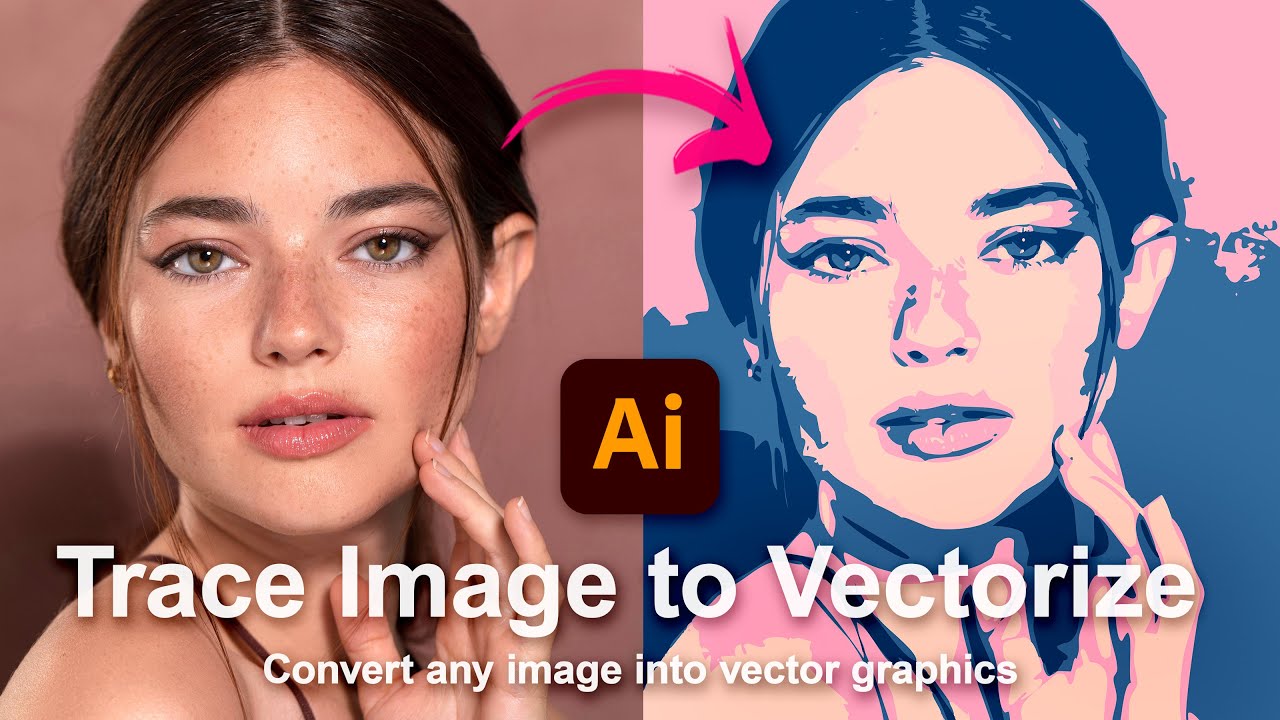
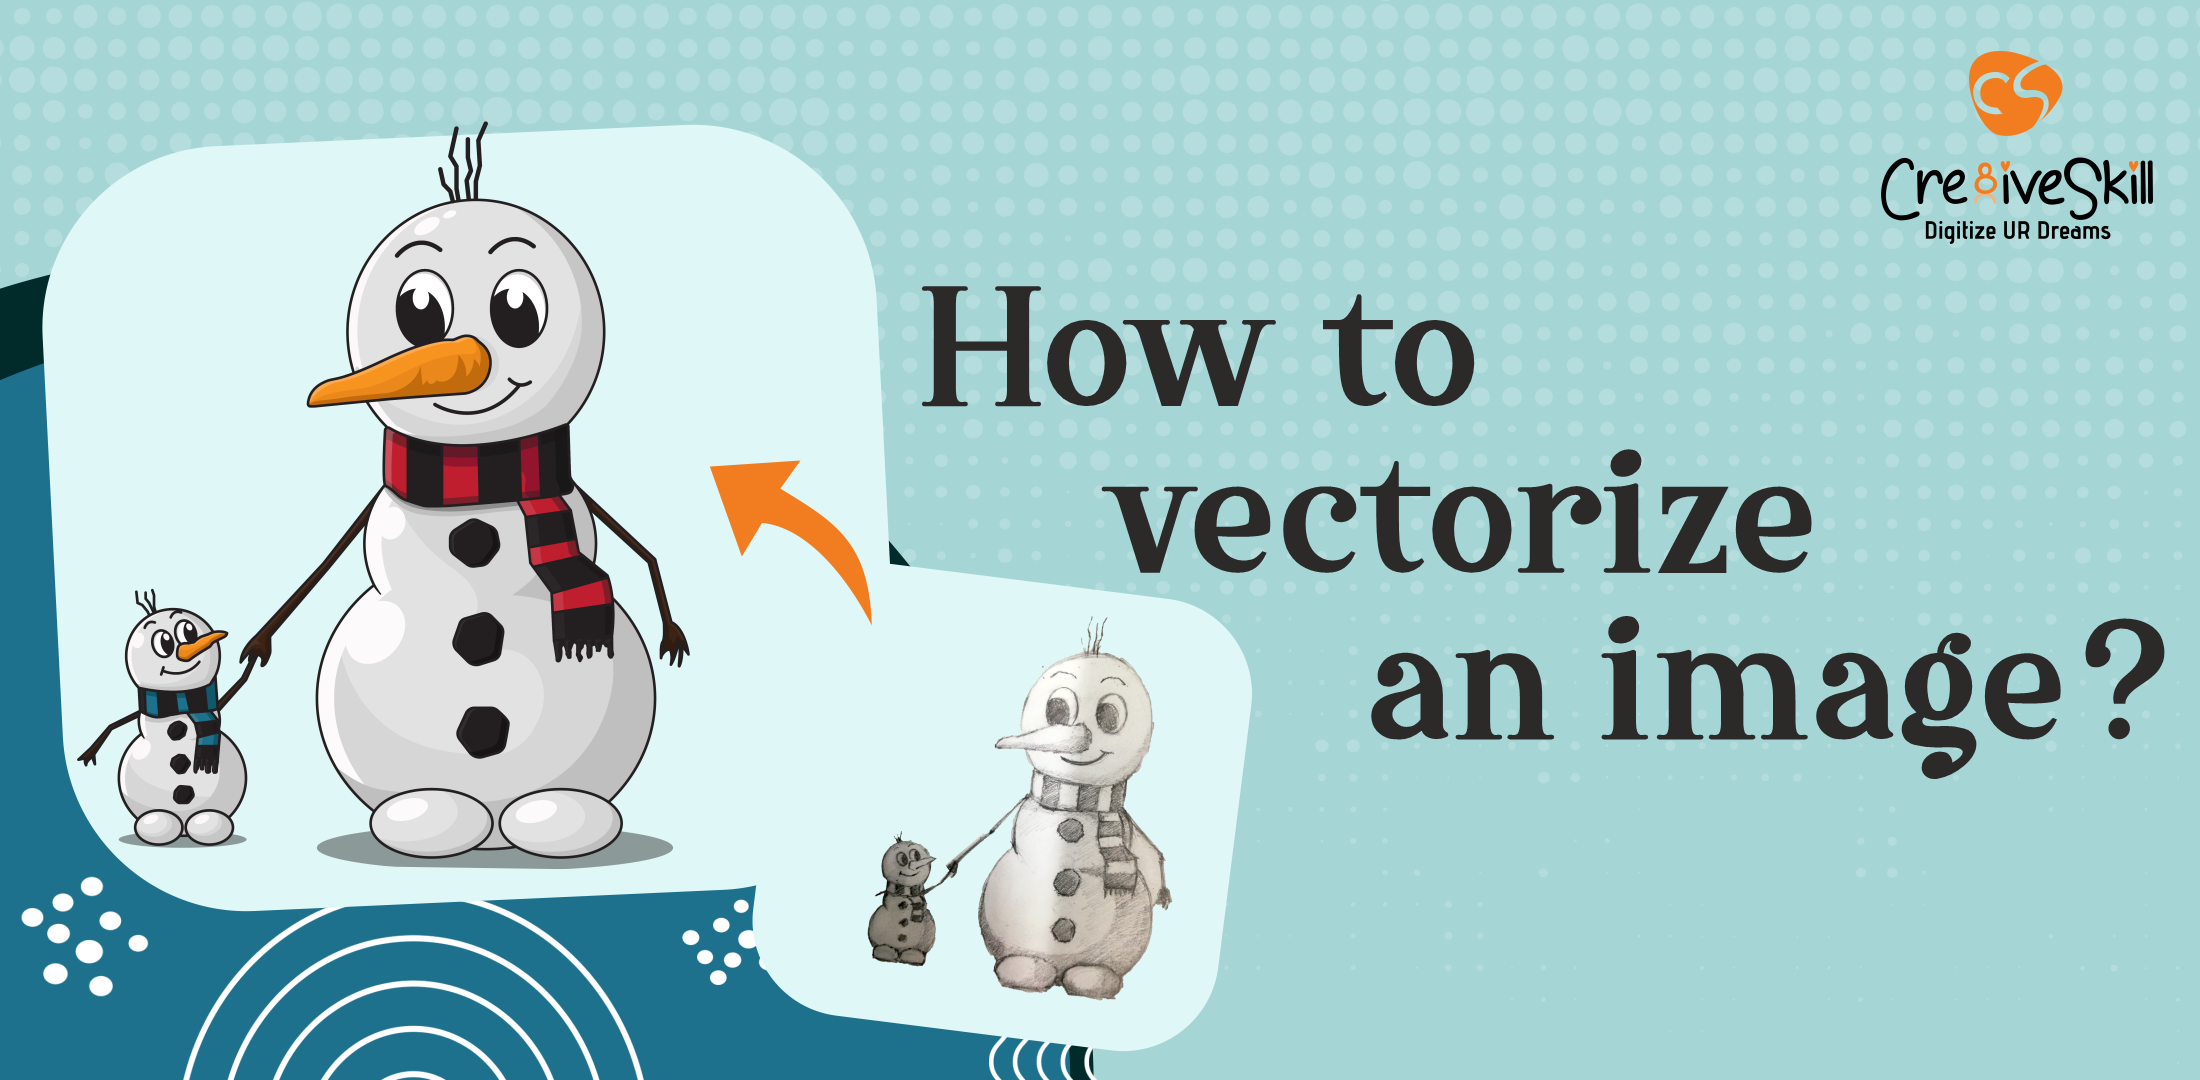
Credit: www.youtube.com
Common Tools For Vectorizing Images
When it comes to the process of vectorizing images, having the right tools is essential for achieving the best results. Several software applications are available that can assist in transforming raster images into scalable vector graphics. Here, we’ll explore some common tools for vectorizing images that are widely used by designers and graphic artists.
Adobe Illustrator
Adobe Illustrator is a powerhouse for vector graphics and image editing. It offers a variety of tools and features specifically designed for vectorization, making it a top choice for many professionals. With its precise control over anchor points and paths, Adobe Illustrator is suitable for intricate and detailed vectorization tasks.
Inkscape
Inkscape is a free and open-source vector graphics editor that provides an alternative to proprietary software. It boasts a user-friendly interface and robust tools for vectorization. Inkscape supports various file formats and offers capabilities for tracing raster images, making it a popular choice among beginners and experienced users alike.
Coreldraw
CorelDRAW is a comprehensive vector graphics software known for its flexible and efficient vectorization tools. It is equipped with features such as PowerTRACE, which allows for quick and accurate conversion of bitmap images into vector graphics. As a versatile solution, CorelDRAW is favored by designers working across different industries.
Tips For Successful Vectorization
To successfully vectorize an image, it is crucial to use high-quality software that allows for smooth, clean lines and sharp edges. Prioritizing simplicity and clarity, meticulous attention to detail is key to successful vectorization. Additionally, choosing the right file format and preserving the original image’s quality are also essential for a successful vectorization process.
When it comes to vectorizing images, following a few key tips can greatly improve the results. Whether you’re a graphic designer, an illustrator, or simply someone looking to convert raster images into a scalable vector format, these strategies will help you achieve the best outcome. In this article, we will highlight three important tips for successful vectorization.
Start With High-resolution Images
To ensure accurate and high-quality vectorization, it is critical to begin with a high-resolution image. Higher resolution images provide more detail, enabling the vectorization software to capture finer elements during the conversion process. This results in a more accurate representation of the original image in the vector format.
When starting with low-resolution images, the lack of detail may lead to jagged edges or blurred lines in the final vectorized version. Therefore, it is advisable to choose images that have a resolution of at least 300 DPI (dots per inch) or higher. This ensures that the image contains enough information for a smooth and precise vector conversion.
Simplify The Image
One of the essential steps in successful vectorization is simplifying the original image. Complex images with intricate details can be challenging to convert into vectors accurately. Simplification involves reducing the number of elements in the image to create a cleaner and more manageable vector version.
To simplify an image, analyze the different elements within and determine what can be eliminated without losing the overall essence. For example, remove unnecessary background elements or simplify intricate patterns to simplify the image’s overall composition. By reducing unnecessary complexity, the vectorization process becomes more manageable and produces cleaner results.
Use Clean Lines And Shapes
When vectorizing an image, it is crucial to pay attention to the lines and shapes used. Vector graphics are based on mathematical equations, allowing for infinite scalability without losing quality. To achieve the best results, ensure that the lines and shapes in the vectorized image are smooth, clear, and well-defined.
When tracing or manually creating vector paths, avoid using jagged lines or irregular shapes. Instead, focus on creating clean and precise lines and shapes that accurately represent the original image. This will ensure that the vectorized version appears sharp and professional, maintaining the integrity of the design.
Frequently Asked Questions On Vectorize Image
How Do You Vectorize An Image?
To vectorize an image, use graphic design software like Adobe Illustrator. Import the image and use the pen tool to create vector paths around it. Adjust anchor points and curves for accuracy. Save the final vectorized image in a suitable file format like SVG.
How Can I Vectorize An Image For Free?
You can vectorize an image for free using online tools like Inkscape, Vector Magic, or using Adobe Illustrator’s free trial.
What Does It Mean To Vectorize A Photo?
Vectorizing a photo means converting it into a scalable vector graphic (SVG) format. This allows the image to be resized without losing quality. It’s useful for logos, illustrations, and designs that need to be scaled to different sizes.
What Is The Free Online Vectorize Tool?
A free online vectorize tool is a tool that converts raster images into vector format. It’s easy to use and helps create high-quality graphics with scalability and editable properties.
Conclusion
In a visual-driven online landscape, vectorizing images offers versatility and scalability for all design needs. Through the use of vector graphics, businesses can enhance their branding and create eye-catching visuals. With the power to resize without losing quality, vector images provide a cost-effective solution.
Embrace the endless possibilities of vectorized images for a captivating online presence.