For Samsung Dryer disassembly, start by unplugging the appliance and removing the top panel carefully. Take out the screws, then lift and remove the front panel of the dryer.
To access the internal components, you may need to disassemble further. Following these steps will help you successfully take apart your Samsung Dryer for maintenance or repair. It’s important to proceed with caution and ensure safety measures are in place before starting the disassembly process.
By following the manufacturer’s guidelines and using proper tools, you can effectively dismantle your Samsung Dryer without causing any damage. Let’s delve deeper into the disassembly process to provide you with a comprehensive guide on how to troubleshoot your appliance effectively.

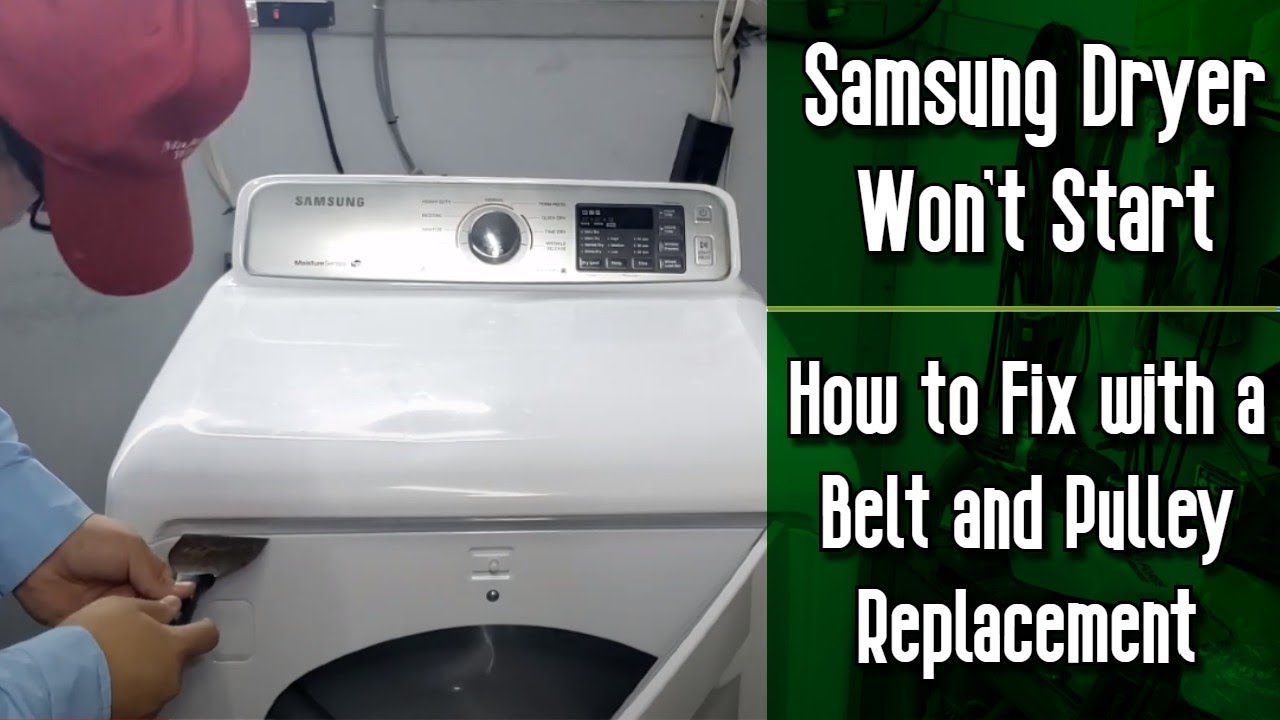
Credit: www.youtube.com
Why Disassemble A Samsung Dryer
Disassembling a Samsung dryer may seem like a daunting task, but it can be incredibly beneficial for troubleshooting and fixing common issues. By taking the dryer apart, you can gain a deeper understanding of its inner mechanisms, identify malfunctioning components, and carry out repairs more effectively. Let’s explore some common issues with Samsung dryers and the benefits of disassembling them.
Common Issues With Samsung Dryers
1. Not Heating: One of the most prevalent problems with Samsung dryers is the failure to produce heat. This can be caused by a faulty heating element, thermostat, or thermal fuse.
2. Excessive Noise: Unusual noises during the drying cycle often originate from worn-out drum support rollers, idler pulleys, or drive belts.
3. Failure to Start: If the dryer doesn’t turn on, it could be due to a defective door switch, thermal fuse, or motor.
Benefits Of Disassembling A Samsung Dryer
1. Comprehensive Inspection: Taking apart the dryer allows for a thorough assessment of all components, enabling you to pinpoint specific issues accurately.
2. Cost-Efficient Repairs: By identifying the problem areas, you can avoid unnecessary part replacements and carry out targeted repairs, saving both time and money.
3. Enhanced Maintenance: Disassembling the dryer provides the opportunity to clean and lubricate various parts, ultimately prolonging its lifespan and efficiency.

Credit: advancedappliancesolutions.com
Preparing For Disassembly
Discover the essential steps to prepare for disassembling your Samsung dryer. This guide will walk you through the process in a clear and concise manner, ensuring a successful disassembly.
Gather The Necessary Tools
Before starting, prepare the tools: screwdriver, pliers, and putty knife.
Ensure Safety Measures
Wear safety gloves and unplug the dryer before disassembly.
Refer to the user manual for specific instructions.
Step-by-step Disassembly Process
Follow an easy step-by-step disassembly process to efficiently take apart your Samsung dryer. This guide ensures a smooth disassembly, helping you identify and fix any issues with your appliance quickly and effectively.
Unplugging The Dryer And Turning Off The Gas
Begin by unplugging the dryer from the electrical outlet and turning off the gas supply if your dryer is gas-powered.
Removing The Control Panel And Top Panel
To access the internal components, remove the control panel and top panel of the dryer.
Taking Apart The Front Panel
Next step involves taking apart the front panel of the dryer to get closer to the drum and motor assembly.
Accessing And Disconnecting The Drum
Once the front panel is off, access the drum and disconnect it from the dryer’s chassis.
Removing The Motor And Drive Belt
Lastly, remove the motor and drive belt to complete the disassembly process.
“` This step-by-step guide provides a straightforward approach to disassembling a Samsung dryer. Start by unplugging the dryer and turning off the gas if necessary. Then, remove the control panel and top panel to access the internal components. Taking apart the front panel allows you to reach the drum and motor assembly. Once the drum is disconnected, you can remove the motor and drive belt for a thorough disassembly process.Troubleshooting During Disassembly
When troubleshooting during the disassembly of your Samsung dryer, it’s important to be aware of common issues that may arise and have strategies in place for handling difficult components. Identifying and addressing these issues early on can help make the disassembly process smoother and more efficient.
Identifying And Addressing Common Issues
Problem: Excessive lint buildup in the dryer vent or duct.
Solution: Clear any lint accumulation using a vacuum or lint brush to ensure proper airflow.
Problem: Damaged drum belt or pulley.
Solution: Inspect the belt and pulley for any signs of wear, and replace if necessary to prevent future issues.
Problem: Faulty heating element or thermostat.
Solution: Use a multimeter to test for continuity and replace any faulty components to restore proper heating functionality.
Tips For Handling Difficult Components
- 1. Approach with care: When dealing with delicate parts such as the heating element or control panel, handle them gently to avoid causing any damage.
- 2. Use appropriate tools: Utilize the correct tools for each component to prevent unnecessary strain or potential breakage.
- 3. Refer to the manual: Consult the appliance manual for specific disassembly instructions and diagrams to aid in the process.
- 4. Label components: As you remove parts, label them accordingly to ensure proper reassembly later on.
Reassembling The Samsung Dryer
Ready to reinvent your Samsung Dryer? Unlock the secret to effortless disassembly with our step-by-step guide. Get back to hassle-free laundry days in no time.
Reassembling the Samsung Dryer: When it comes to reassembling the Samsung Dryer, there are a few important steps you need to follow to ensure everything fits back together properly. In this section, we will walk you through the process of spacing the drum and reconnecting components, attaching the front and top panels, and the final steps of testing the dryer before you can start using it again. ### Spacing the Drum and Reconnecting Components To begin the reassembling process, it’s crucial to properly space the drum and reconnect all the components. Follow these simple steps to ensure a smooth reassembly process: 1. Carefully lift and position the drum back into place, aligning it with the drum support rollers. 2. Tighten the surrounding screws by turning them clockwise until they are secure. 3. Reconnect the belt that drives the drum. Make sure it is properly fitted around the motor pulley and the idler pulley. 4. Check the tension of the belt by pushing it downwards with your finger. It should give a slight resistance but not be too tight. 5. Confirm that all the wires and plugs are securely reconnected to their respective components. Double-check to avoid any loose connections. ### Attaching the Front and Top Panels Now that the drum and components are properly reconnected, it’s time to attach the front and top panels. Follow these steps carefully: 1. Align the front panel with the drum and slide it into place. Ensure that the drum is sitting properly in its groove. 2. Secure the front panel using the screws provided. This will hold it in place and prevent any vibration or movement during operation. 3. Place the top panel over the front panel, making sure it fits snugly. Secure it with the screws provided, ensuring a tight fit. ### Final Steps and Testing With the front and top panels securely attached, you’re almost done with the reassembling process. Follow these final steps to complete the process and test your Samsung Dryer: 1. Reattach the lint filter, making sure it is clean and free from debris. This will ensure proper airflow and prevent any potential fire hazards. 2. Plug the dryer into the power outlet and turn it on. Ensure that all the buttons and controls are functioning correctly. 3. Run a test cycle on the dryer to make sure it is heating properly and running smoothly. 4. Check for any unusual noises or vibrations during operation. If everything is working as expected, congratulations! You have successfully reassembled your Samsung Dryer. Remember, if you encounter any difficulties during the reassembling process or if you are unsure about any step, it’s always best to consult the user manual or seek professional assistance.
Credit: www.samsung.com
Frequently Asked Questions On Samsung Dryer Disassembly
How Do You Remove The Front Panel Of A Samsung Dryer?
To remove the front panel of a Samsung dryer, unscrew the top panel, pull it towards you, and lift it off. Then remove the screws securing the front panel, lift it up, and unplug the wire harness before completely removing the panel.
How Do I Clean The Inside Of My Samsung Dryer?
To clean the inside of your Samsung dryer, start by removing lint from the lint trap and vacuuming the area. Then wipe down the drum and interior with a damp cloth. Check the vents and exhaust for any blockages and clean them as needed.
Regular cleaning helps maintain dryer performance.
How Do You Open The Front Of A Dryer?
To open the front of a dryer, follow these steps: 1. Unplug the dryer from the power source. 2. Remove the lint filter and any screws located on the lint filter housing. 3. Use a screwdriver to detach the control panel and lift it up.
4. Locate and unscrew the screws that secure the front panel. 5. Gently pull forward the front panel to release it from the dryer.
How Do You Lift The Top Of A Samsung Dryer?
To lift the top of a Samsung dryer, follow these steps: 1. Make sure the dryer is unplugged. 2. Locate the two spring clips near the front corners of the dryer’s top panel. 3. Use a flathead screwdriver or putty knife to press and release the clips.
4. Lift the top panel gently to access the interior of the dryer. 5. Be careful not to damage any wires or components while lifting.
Conclusion
Disassembling a Samsung dryer may seem daunting, but with the right tools and a methodical approach, it’s a manageable task. By following the step-by-step guide, you’ll be able to access and address any issues within the appliance. Remember to handle all components with care and prioritize safety throughout the process.