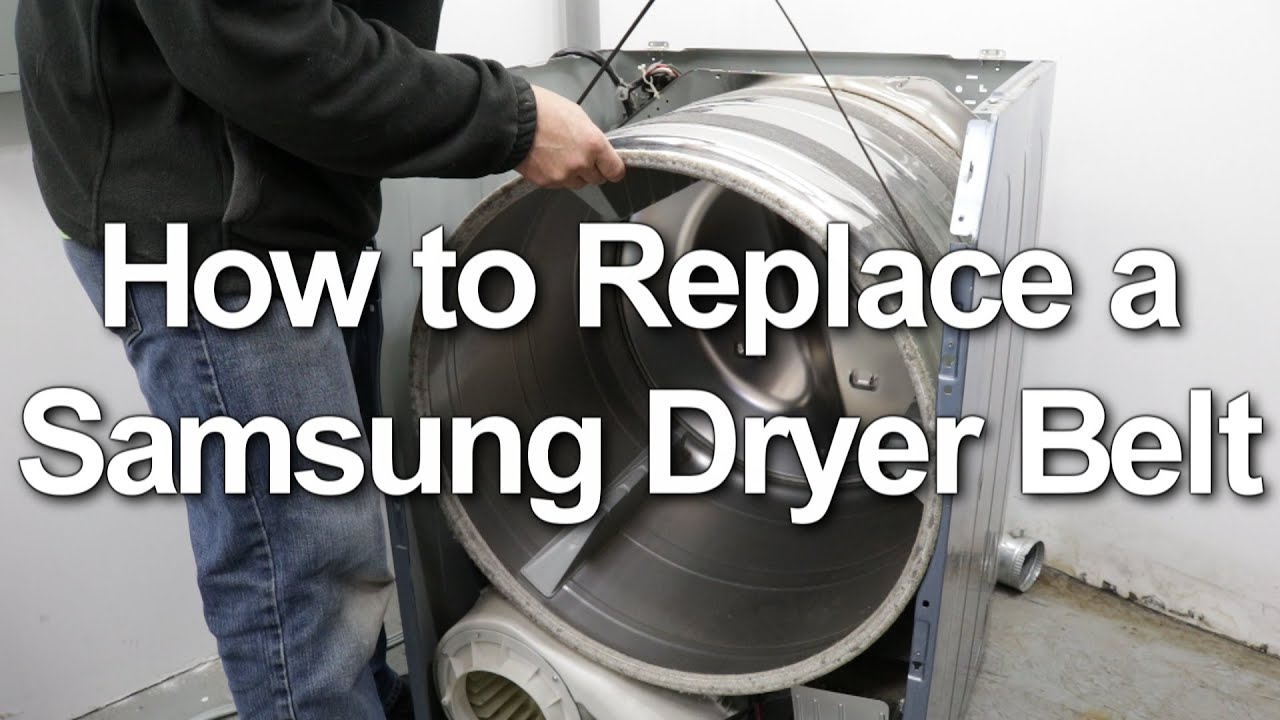
To install the Samsung dryer belt, remove the top and front panels for access. Thread the new belt around the drum and motor pulley before reassembling the dryer.
Upgrading your Samsung dryer with a new belt is a straightforward process that can help restore efficient performance. Following these steps will ensure your dryer operates smoothly and effectively, providing you with optimal drying results. By taking the time to replace the belt correctly, you can extend the lifespan of your Samsung dryer and avoid potential issues in the future.
Additionally, maintaining your appliance in top condition will save you time and money on repairs down the line.

Credit: m.youtube.com
Preparation
When it comes to installing a Samsung dryer belt, it’s essential to prepare adequately to ensure a smooth and hassle-free process. Preparation involves gathering the necessary tools, adhering to safety precautions, and setting up the work area to effectively carry out the installation.
Gather Necessary Tools
Before starting the installation process, it’s crucial to gather all the necessary tools and equipment to ensure a seamless experience. Here’s a list of tools you will need:
- Socket wrench
- Screwdriver set
- Putty knife
- New Samsung dryer belt
- Vacuum cleaner (optional, for cleaning lint)
Safety Precautions
Prior to beginning the installation, it’s essential to prioritize safety to prevent any accidents or mishaps. Here are a few safety precautions to keep in mind:
- Unplug the dryer from the power source to avoid electric shocks.
- Wear protective gloves to protect your hands during the installation process.
- Ensure that the dryer is placed on a stable surface to prevent it from toppling over.
- Handle the dryer belt with caution to avoid injury from sharp edges.

Credit: www.justanswer.com
Removing The Old Belt
Accessing The Dryer Belt
To start the process, you need to access the back panel of your Samsung dryer.
Detaching The Belt From The Pulley And Drum
Next, carefully detach the old belt from the pulley and drum by following these steps:
- Locate the idler pulley near the motor and release tension by pushing it towards the motor.
- Slide the old belt off the pulley and the motor shaft.
- Detach the belt from around the drum, ensuring it is completely free.
Installing The New Belt
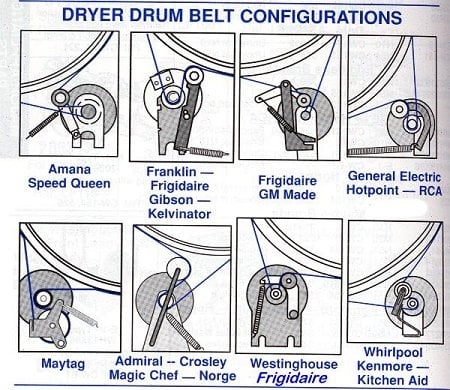
Determining Correct Belt Orientation
Check belt manual for correct orientation.
- Identify grooved side for pulley contact.
- Flat side should touch the drum.
Attaching The Belt To The Pulley And Drum
Secure the belt ensuring proper fit.
- Loop belt around the drum.
- Connect to the motor pulley.
Testing And Troubleshooting
In the process of installing a new belt on your Samsung dryer, it’s essential to ensure everything is functioning properly. The testing and troubleshooting phase allows you to identify any issues and address them before completing the repair. Here’s how to diagnose and resolve potential concerns.
Checking Belt Tension
After the belt installation, check the tension of the belt. It should have just enough give to be flexible but not loose. An appropriately tensioned belt will enable smooth rotation without slippage. If the belt feels too loose or too tight, adjustments may be necessary to achieve the optimal tension for satisfactory performance.
Addressing Potential Issues
Upon testing the dryer, if you notice any unusual noises, unsuccessful spinning, or irregular movement, this may indicate underlying issues. It’s crucial to examine the belt alignment and ensure the pulleys are functioning correctly. Also, inspect the belt for signs of wear or damage that could impact its operation. By addressing these potential issues promptly, you can avoid further complications and safeguard the efficiency of your Samsung dryer.
Credit: thedailyguardian.com
Frequently Asked Questions On Samsung Dryer Belt Install
Does It Matter Which Way The Dryer Belt Goes On?
Yes, it does matter which way the dryer belt goes on. The belt needs to be properly aligned to spin the drum correctly and prevent excessive wear. Incorrect installation can lead to dryer malfunctions or damage. Always refer to the manufacturer’s instructions for the correct belt placement.
How Do You Line Up A Dryer Belt?
To line up a dryer belt, follow these steps: 1. Unplug the dryer from the power source. 2. Remove the front panel to access the belt. 3. Slide the new belt onto the drum, ensuring it fits snugly. 4. Align the belt on the motor pulley and tension pulley.
5. Rotate the drum by hand to check if the belt is properly aligned.
How Do You Put A Belt Back On A Dryer Pulley?
To put a belt back on a dryer pulley, start by releasing the tension on the belt. Then, loop the belt around the pulley and the motor shaft, making sure it is positioned properly. Finally, secure the tension and reassemble the dryer.
It’s essential to follow the manufacturer’s instructions for specific models.
Are Dryer Belts Hard To Replace?
Replacing dryer belts is a straightforward DIY task. It may require basic tools and following instructions carefully.
Conclusion
Replacing the Samsung dryer belt is a manageable task that can save time and money. With the right tools and a clear guide, anyone can successfully complete the installation. Taking care of your appliances can extend their lifespan and prevent costly repairs.
So, don’t hesitate to tackle this simple DIY project for your Samsung dryer.