To remove wrinkles in Photoshop, use the Healing Brush tool and Clone Stamp tool. These tools can efficiently edit imperfections and smooth out wrinkles for a flawless look.
Wrinkles can be a common concern in photographs, especially in portraits or close-up shots. In the digital age, editing tools like Photoshop offer a convenient solution to enhance images and create a polished finish. With the right techniques and tools, you can effectively remove wrinkles and achieve professional-looking results.
In this guide, we will explore the step-by-step process to remove wrinkles in Photoshop and restore a youthful appearance to your photos. Let’s dive into the world of digital retouching and learn how to master this skill effortlessly.
Understanding Wrinkles
Learn how to effortlessly remove wrinkles in Photoshop with this comprehensive guide. Enhance your photos and achieve a smooth, youthful appearance without any hassle. Expert techniques and step-by-step instructions are provided to ensure stunning results.
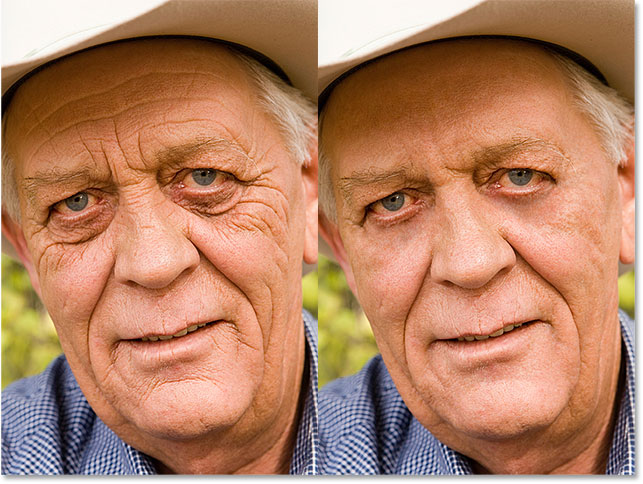
Understanding Wrinkles Causes of Wrinkles Wrinkles are creases, ridges, or folds in the skin that develop as a natural part of the aging process. Understanding the causes of wrinkles can help in effectively addressing them through Photoshop. Some common causes of wrinkles include: 1. Sun Exposure: Prolonged exposure to the sun’s harmful UV rays can lead to premature aging and the development of wrinkles. 2. Smoking: Tobacco smoke contains harmful chemicals that can accelerate the aging process of the skin, leading to the formation of wrinkles. 3. Genetics: Genetic factors can also play a role in determining a person’s susceptibility to wrinkles. Different Types of Wrinkles Static Wrinkles: These wrinkles are constantly visible and are a result of the natural aging process. They occur due to the loss of collagen and elastin in the skin, leading to sagging and creasing. Dynamic Wrinkles: These wrinkles are caused by repetitive facial movements, such as frowning or smiling. Over time, these movements can lead to the formation of visible lines and creases on the skin. Textural Wrinkles: Textural wrinkles are characterized by a rough, uneven skin texture, often caused by factors such as sun damage and dehydration. In Photoshop, it’s essential to have a deep understanding of the different types of wrinkles in order to apply the appropriate editing techniques to achieve a more youthful and smooth appearance.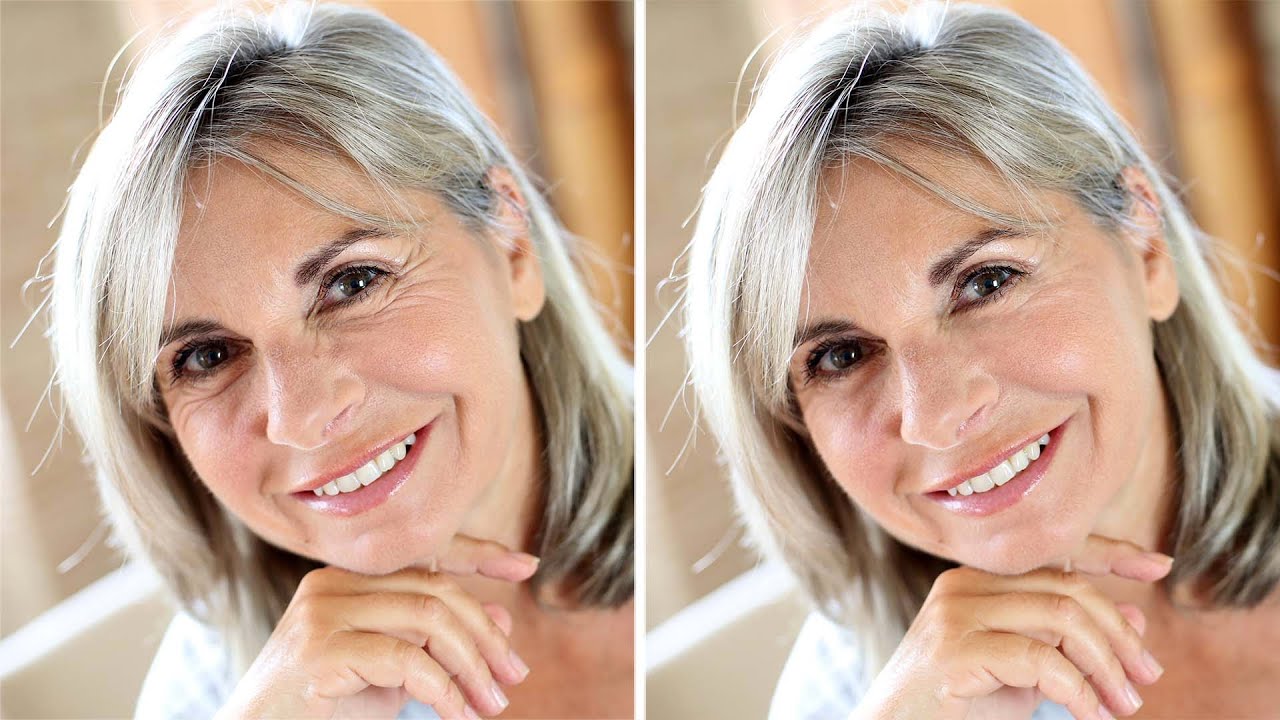
Credit: m.youtube.com
Preparing The Image For Editing
Selecting The Image
In Photoshop, start by selecting the image you want to remove wrinkles from. Select a high-resolution image for better results.
Adjusting The Lighting
Enhance lighting by using the ‘Brightness/Contrast’ or ‘Exposure’ adjustment tools. This helps in highlighting facial features.
Cleaning Up The Background
To clean up the background, utilize the ‘Spot Healing Brush’ to remove distractions. Ensure the focus remains on the subject’s face.
Using Healing Brush Tool
When it comes to retouching photos in Photoshop, the Healing Brush Tool is a powerful tool for removing wrinkles and imperfections from images. Let’s dive into how you can use the Healing Brush Tool effectively to remove wrinkles and create flawless portraits.
Creating A New Layer
To start, create a new layer above the original image layer. This helps you work non-destructively, allowing you to make changes without altering the original image.
Selecting The Healing Brush Tool
Next, select the Healing Brush Tool from the toolbar on the left-hand side of the screen. It looks like a bandaid and is great for blending textures seamlessly.
Removing Wrinkles
Zoom into the area containing wrinkles and adjust the brush size to fit the wrinkle size. Use the Healing Brush Tool to sample nearby skin texture by holding Alt and clicking.
Carefully paint over the wrinkles, making sure to blend the sampled texture smoothly. Take your time and work in small sections for a natural look.
Repeat this process for each wrinkle until you achieve the desired result. Remember to save your work frequently to avoid losing progress.
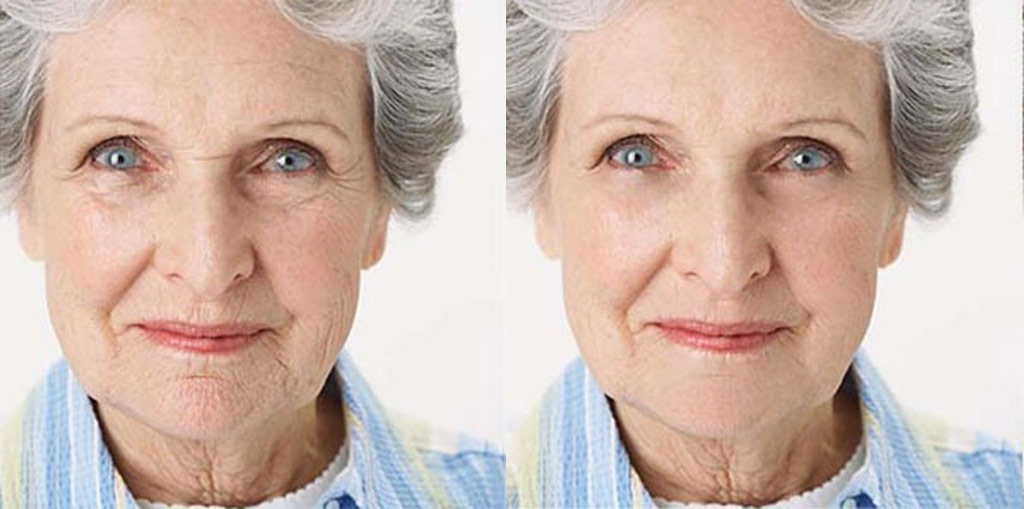
Credit: www.photoshop-bootcamp.com
Utilizing Clone Stamp Tool
Utilizing the Clone Stamp Tool in Photoshop is an effective way to remove wrinkles and other imperfections from images. This powerful tool allows you to sample a portion of an image and use it to cover up unwanted wrinkles, creating a smooth and flawless finish.
Creating A New Layer
To begin, it’s essential to create a new layer before using the Clone Stamp Tool. This ensures that any changes made with the tool are non-destructive, allowing you to easily adjust or remove edits if needed without affecting the original image.
Selecting The Clone Stamp Tool
After creating a new layer, select the Clone Stamp Tool from the toolbar. You can also use the keyboard shortcut “S” to access the tool quickly. Adjust the brush size and hardness according to the size of the wrinkle and the surrounding area for precise editing.
Smoothing Out Wrinkles
Once the Clone Stamp Tool is selected, hold down the Alt key and click on an area near the wrinkle that has a similar texture and tone. Release the Alt key and carefully brush over the wrinkle to blend it with the surrounding skin. Repeat this process, sampling different areas as needed, to effectively remove all wrinkles and create a seamless result.
Final Touches And Refinements
Once you’re satisfied with the basic wrinkle removal techniques in Photoshop, it’s time to add those final touches and refinements that will bring your image to the next level. These subtle adjustments can make a significant difference, enhancing the natural look of the skin and ensuring a flawless finish.
One effective way to refine your wrinkle removal is by adjusting the opacity of the edited layer. By reducing the opacity slightly, you can create a more realistic result that blends seamlessly with the surrounding skin. This technique helps to avoid the overly airbrushed appearance often associated with excessive retouching.
To make your wrinkle removal look even more natural, it’s essential to add back some of the skin’s texture and detail. One approach is to create a new layer and set its blending mode to “Overlay” or “Soft Light.” Then, use a soft brush with a low opacity to paint over the areas where you want to restore texture. This technique adds depth and dimension, ensuring that your edited skin looks realistic and not flat.
To achieve a realistic effect and make the edited skin blend seamlessly with the rest of the image, applying filters can be highly useful. Photoshop offers a variety of filters that can help achieve a more natural-looking appearance. For example, the “Gaussian Blur” filter can soften the edges and reduce any harsh lines created during the editing process. Experiment with different filters and adjust their settings until you achieve the desired result.
By following these final touches and refinements techniques, you can enhance the overall appearance of your wrinkle removal in Photoshop. Remember, the goal is to achieve a natural-looking result that preserves the unique characteristics of the individual while minimizing the appearance of wrinkles. Taking the time to make these subtle adjustments will ensure a successful and aesthetically pleasing final image.
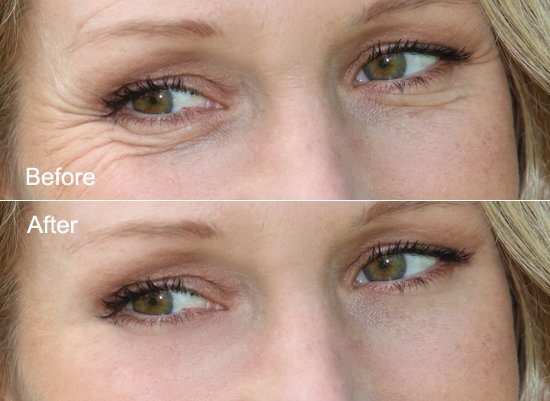
Credit: clippingpathservice.com
Frequently Asked Questions On Remove Wrinkles In Photoshop
What Tool Removes Wrinkles In Photoshop?
Photoshop’s Spot Healing Brush tool effectively removes wrinkles. It’s a simple and powerful tool for the task.
How Do You Unwrinkle In Photoshop?
To unwrinkle in Photoshop, use the Spot Healing Brush or Clone Stamp tool to smooth out wrinkles on the image.
How Do You Remove Wrinkles From A Picture?
To remove wrinkles from a picture, use photo editing software’s healing or clone tool. Select the area with wrinkles and smooth them out by blending pixels.
How Do I Remove Creases From An Image In Photoshop?
To remove creases from an image in Photoshop, use the Healing Brush tool or the Clone Stamp tool. Select an appropriate brush size, then click and drag over the crease to smooth it out. Adjust the tool’s settings as needed for best results.
Conclusion
Removing wrinkles in Photoshop is a valuable skill for photographers and designers alike. With the right techniques and tools, you can enhance the appearance of your images and achieve a polished, professional result. By practicing the methods outlined in this blog post, you can master the art of wrinkle removal and elevate your works to the next level.