
To add a person to a photo, use photo editing software like Photoshop and select the person to insert. Then, adjust size and placement.
Adding a person to a photo can enhance memories and create visually appealing images. Whether you want to bring someone into a group photo or recreate a special moment, this process can be done easily with the right tools. By following a few simple steps in a photo editing program, you can seamlessly merge the person into the picture while maintaining a natural look.
In this guide, we will explore how to add a person to a photo using popular editing software and techniques. Mastering this skill will allow you to customize your photos and create unique compositions that tell a story or convey a specific message.
Preparing For The Photo Shoot
Capturing the perfect photo with a new person added can be an exciting endeavor. Properly preparing for the photo shoot is essential to ensure a seamless blend of the new subject into the existing image. From choosing the right background to setting up the lighting, each step contributes to the overall success of the photo.
Choosing The Right Background
When adding a person to a photo, selecting the appropriate background is crucial. Opt for a background that matches the lighting and setting of the original photo to create a natural and realistic appearance. Consider factors like color scheme, lighting conditions, and overall ambiance to ensure a harmonious blend.
Setting Up The Lighting
Proper lighting is paramount for seamlessly integrating a new person into an existing photo. Set up the lighting to match the direction, intensity, and color temperature of the original photo. Avoid harsh shadows or unnatural lighting that could detract from the cohesion of the final image.
Taking The Photo
When adding a person to a photo, capturing the shot must be done with care and attention to detail.
Positioning The Subject
Place the subject in the center for a balanced composition.
Ensure proper lighting to avoid shadows on the subject.
Using A Tripod For Stability
Set up a tripod to avoid shaky or blurred photos.
Position the camera at eye level for a natural look.
Editing The Photo
Learn how to seamlessly add a person to your photos with these easy steps. Enhance your editing skills and create realistic images that blend effortlessly.
Selecting The Right Editing Software
Selecting the right editing software is crucial for adding a person to a photo with precision and ease.Masking And Layering Techniques
Masking and layering techniques are effective for seamlessly integrating a new person into the existing photo. When editing a photo to add a person, choose editing software that allows for precise adjustments. Popular software like Adobe Photoshop or GIMP offer robust tools for detailed photo editing. Utilize masking to selectively reveal or hide portions of the image. Layering the new person onto the background ensures a cohesive and realistic final result. By mastering these techniques, you can seamlessly add a person to a photo with professional-looking results.
Credit: pixabay.com
Adding The Person To The Photo
Welcome to our guide on how to add a person to a photo. In this section, we will walk you through the process of seamlessly integrating a person into a photo, transforming your images with a professional touch.
Cutting Out The Subject
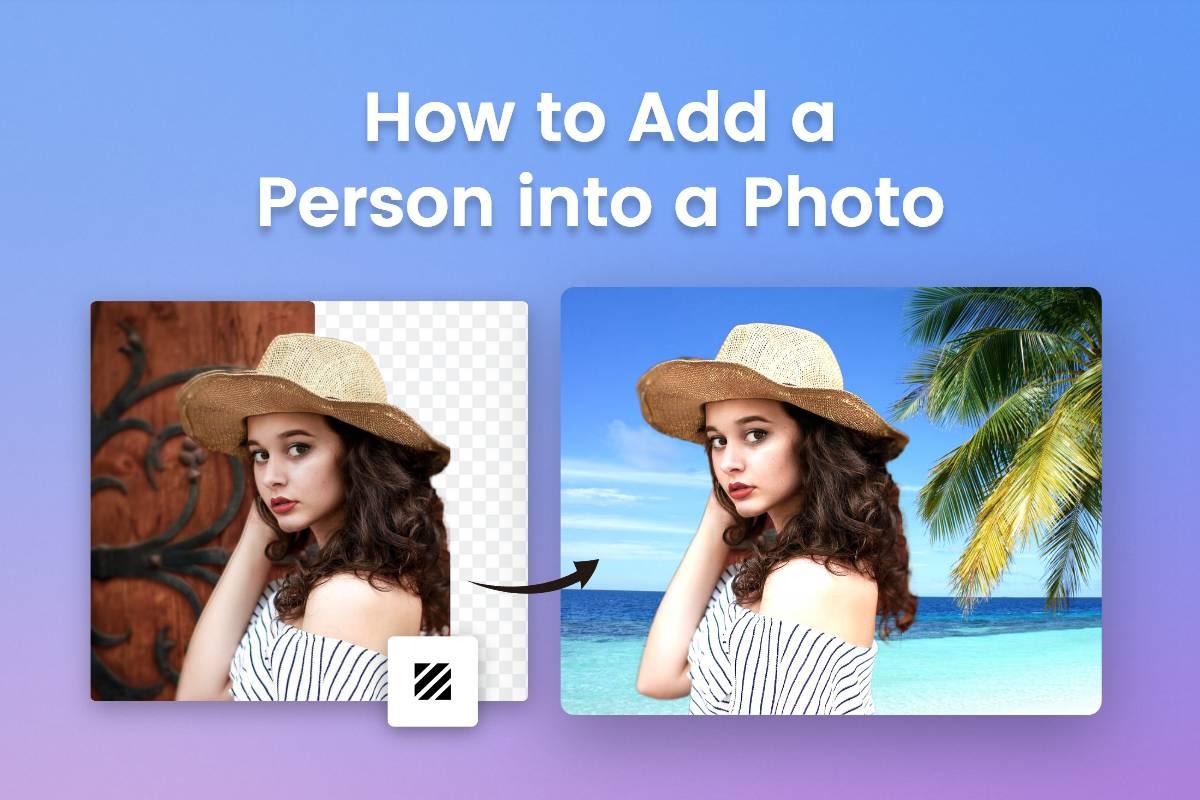
Before adding a person to a photo, it’s essential to cut out the subject properly. Use a selection tool such as the pen tool or the lasso tool to carefully outline the person in the image. Make sure to refine the edges for a clean and precise selection. Once the subject is selected, remove the background to isolate the person from the original image.
Adjusting The Size And Position
After cutting out the subject, you can now adjust the size and position of the person in the photo. With the transformed person layer selected, use the transform tool to resize and reposition the person as needed. Ensure that the lighting and perspective match the background to create a convincing integration.
Blending The Subject Into The Photo
Blending the subject into a photo is an important step when adding a person to an existing image. This ensures that the photo looks realistic and cohesive, as if the person was originally present. Two key aspects of blending the subject into the photo are matching the lighting and color, as well as refining the edges. Let’s explore these techniques in detail.
Matching The Lighting And Color
When adding a person to a photo, it’s crucial to ensure that the lighting and color of the subject are consistent with the surroundings. To achieve this, follow these steps:
- Analyze the original photo’s lighting direction, intensity, and color temperature.
- Adjust the subject’s lighting to match the existing photo. This can be done by using adjustment layers or by manually modifying the brightness, contrast, and shadows.
- Consider the color balance of the photo and make necessary adjustments to the subject’s color to blend seamlessly. This can be achieved through color correction techniques, such as using the “Color Match” tool or adjusting the color temperature and hue of the subject layer.
Refining The Edges
To make the person appear as a natural part of the photo, it’s essential to refine the edges of the subject. This helps to eliminate any harsh lines or unnatural edges. Follow these steps to refine the edges:
- Use a selection tool, such as the “Quick Selection” or “Pen” tool, to create a precise outline around the subject.
- Apply a feather or refine edge option to soften the edges and create a smoother transition between the subject and the background.
- Consider using a layer mask to hide any unwanted areas and ensure the subject seamlessly blends into the photo.
By carefully matching the lighting and color, as well as refining the edges, you can successfully blend a subject into a photo and create a final composite image that appears natural and realistic. Take your time with these techniques and remember to adjust the settings based on the specific photo and subject to achieve the best results.

Credit: cutoutbees.com
Credit: www.fotor.com
Frequently Asked Questions For How To Add A Person To A Photo
How Can I Add Someone To A Photo For Free?
You can add someone to a photo for free using online tools like Canva or Fotor. Simply upload your photo and use the “add person” feature to insert another person into the image. These tools offer user-friendly interfaces and a variety of editing options.
How Do I Combine A Person Into A Picture?
To combine a person into a picture, use photo editing software like Photoshop. Cut out the person and insert them into the desired image. Adjust size and lighting for a seamless blend. Save the final result in the appropriate format.
How Do You Add Someone To A Photo On Iphone?
To add someone to a photo on an iPhone, use the Markup tool in the Photos app. Select the photo, tap Edit, then tap the three dots and choose Markup. Tap the plus sign, select Text, and add the person’s name or details.
How Do You Paste Someone Into A Picture On Iphone?
To paste someone into a picture on iPhone, use an editing app like Photoshop Express. Open the photo and the person you want to add. Select the person’s image, copy, and paste it onto the background photo. Adjust size and position as needed.
Conclusion
Adding a person to a photo is a creative process that can add depth and interest to your photos. With the help of the right tools and techniques, you can seamlessly integrate a person into any picture. Whether for personal or professional use, mastering this skill can enhance your photography and design projects.