To add a person to a photo in Photoshop, use the “Place Embedded” feature for seamless integration. Adjust size and position as needed.
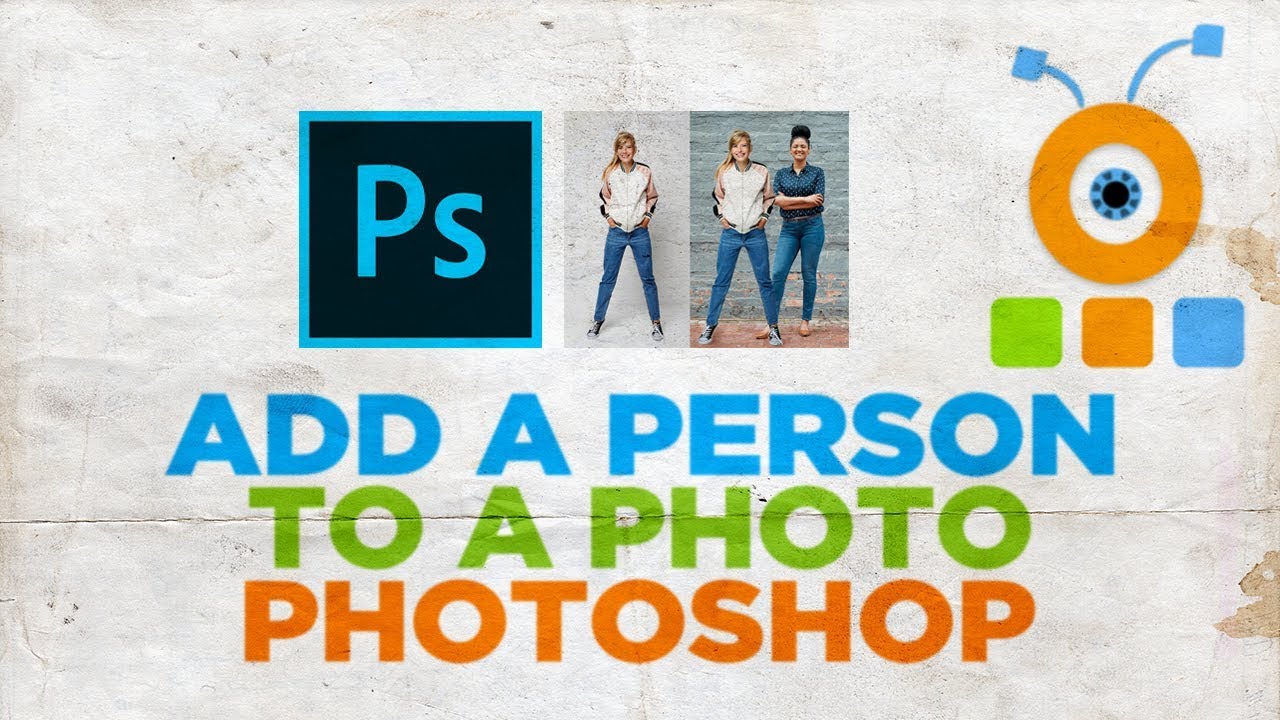
Adding a person to a photo in Photoshop can enhance your images by bringing in new elements or creating a composite scene. Whether you want to insert someone into a group shot or create a playful edit, Photoshop provides the tools to make it happen.
With the right techniques and attention to detail, you can seamlessly blend the added person into the original photo. By following a few simple steps, you can achieve professional-looking results that will elevate your photography projects. Let’s explore the process of adding a person to a photo in Photoshop and unlock the creative possibilities this tool offers.
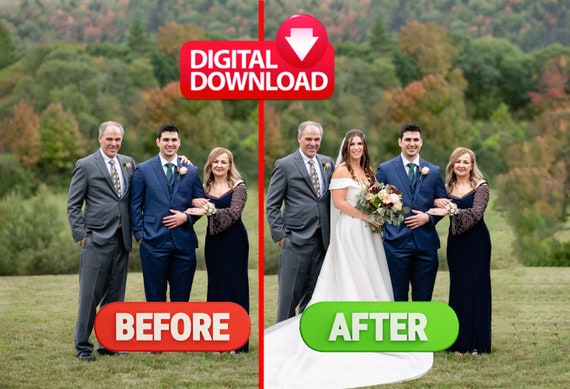
Credit: www.etsy.com
Choosing The Right Photo Editing Software
When it comes to adding a person to a photo, choosing the right photo editing software is crucial. You need a tool that offers accuracy, flexibility, and seamless integration for a professional finish. In this guide, we’ll explore the best options and how to use them effectively to achieve amazing results.
Photoshop As The Industry Standard
Photoshop is undeniably the industry standard for photo editing and manipulation. Its advanced features, precision editing tools, and extensive capabilities make it the go-to choice for professionals and enthusiasts alike. With Photoshop, adding a person to a photo becomes a seamless process, allowing for flawless integration and natural-looking results.
Alternatives To Photoshop
While Photoshop is widely acclaimed, there are alternative software options that can also deliver impressive results in adding a person to a photo. Tools such as GIMP, Affinity Photo, and Corel PaintShop Pro offer similar functionalities and editing capabilities, making them viable alternatives for those seeking a cost-effective or user-friendly solution. These alternatives provide a platform to achieve professional-looking results without the hefty price tag of Photoshop.
Preparing The Photo And Workspace
When it comes to adding a person to a photo in Photoshop, the first step is preparing the photo and workspace.
Selecting A Suitable Photo
Choose a photo that has a clear subject and a simple background for better results.
Setting Up Photoshop Workspace
Open Photoshop and create a new project with dimensions matching your photo size.
Import the photo by dragging and dropping it into the workspace.
Using The Pen Tool To Create A Path
Using the Pen Tool to Create a Path: The Pen Tool in Photoshop is a powerful tool that allows you to create precise paths and outlines. In this blog post, we will guide you on how to add a person to a photo using the Pen Tool to create a path.
Understanding The Pen Tool:
The Pen Tool in Photoshop is essential for creating paths and shapes. It enables you to draw smooth and accurate lines, making it perfect for outlining a person in a photo.
Creating An Outline Of The Person:
To create an outline of the person in the photo, select the Pen Tool and carefully trace around the edges of the person. Ensure to click and drag to create curves for a natural outline.
Refining And Adjusting The Path:
After creating the initial path, you can refine it by adjusting the anchor points and curves. Use the Direct Selection Tool to fine-tune the path until it accurately outlines the person in the photo.
“` Key Takeaways: – The Pen Tool is essential for creating precise paths in Photoshop. – Use the Pen Tool to outline the person in the photo with smooth curves. – Refine the path by adjusting anchor points and curves for accuracy.Layering And Masking Techniques
In Photoshop, layering and masking techniques are essential skills for seamlessly adding a person to a photo. By mastering these techniques, you can achieve professional-looking results that blend the new element flawlessly into the existing image. Here’s a step-by-step guide on how to use layering and masking techniques to add a person to a photo in Photoshop.
Creating A New Layer
To begin, open the image in Photoshop and create a new layer by selecting the “Layer” menu, then choosing “New” followed by “Layer” or by using the keyboard shortcut Shift+Ctrl+N (Windows) or Shift+Cmd+N (Mac). Creating a new layer ensures that the person you’re adding can be edited and adjusted independently of the original image.
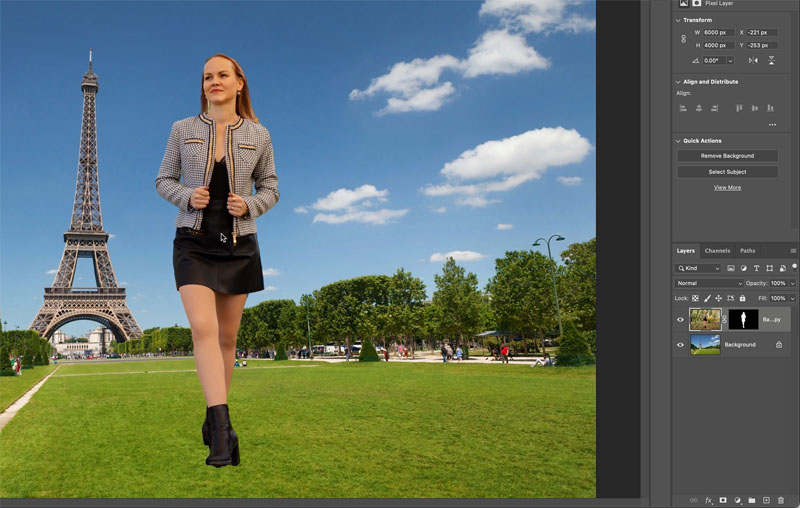
Placing The Person On The Image
Next, import the photo of the person you want to add into Photoshop. Use the Move tool (V) to drag and drop the person onto the original image. Position the person in the desired location within the photo. This step allows you to place the person on a separate layer and make positioning adjustments as needed.
Making Adjustments With Layer Masks
Once the person is in place, use layer masks to seamlessly blend the person into the photo. Select the person’s layer, click on the “Add Layer Mask” icon at the bottom of the Layers panel, and use a black brush to mask out any unwanted areas. Switching between black and white brushes allows you to refine the mask and adjust the visibility of the person in the image, creating a seamless integration. This technique also enables fine adjustments by revealing or concealing portions of the added person.
Blending And Shadows
Learn how to seamlessly add a person to a photo in Photoshop with the use of blending and shadows. This step-by-step guide will help you achieve realistic results in your photo editing endeavors.
Adding a person to a photo can be an effective way to enhance the composition or tell a story. However, to truly make it realistic, attention must be given to blending the person seamlessly into the image and creating realistic shadows. In this article, we will explore two key techniques for achieving this: matching colors and lighting, as well as adding realistic shadows.Matching Colors And Lighting
To make the added person look like they belong in the photo, it is essential to match their colors and lighting to the existing image. Here are a few steps to accomplish this:- Start by selecting the person using the appropriate selection tool in Photoshop.
- In the Layers panel, create a new adjustment layer by clicking on the “Create new fill or adjustment layer” button.
- Choose “Hue/Saturation” from the options and adjust the sliders to match the colors of the photo.
- Next, create another adjustment layer, this time selecting “Brightness/Contrast.”
- Tweak the sliders to ensure the lighting on the person matches the existing scene.
Adding Realistic Shadows
Creating realistic shadows is crucial to make the added person appear like they were always part of the scene. Here’s a simple method to add shadows:- First, duplicate the layer of the person so that we have a separate copy to work on.
- Position this duplicated layer beneath the person layer in the Layers panel.
- With the duplicated layer selected, go to the “Edit” menu and choose “Transform.”
- Adjust the size and shape of the duplicated layer to match the perspective and position of the person.
- To create a shadow effect, reduce the opacity of the duplicated layer and apply a Gaussian Blur to soften the edges.
- Finally, transform the shape of the shadow layer using the Warp tool to make it blend more naturally.
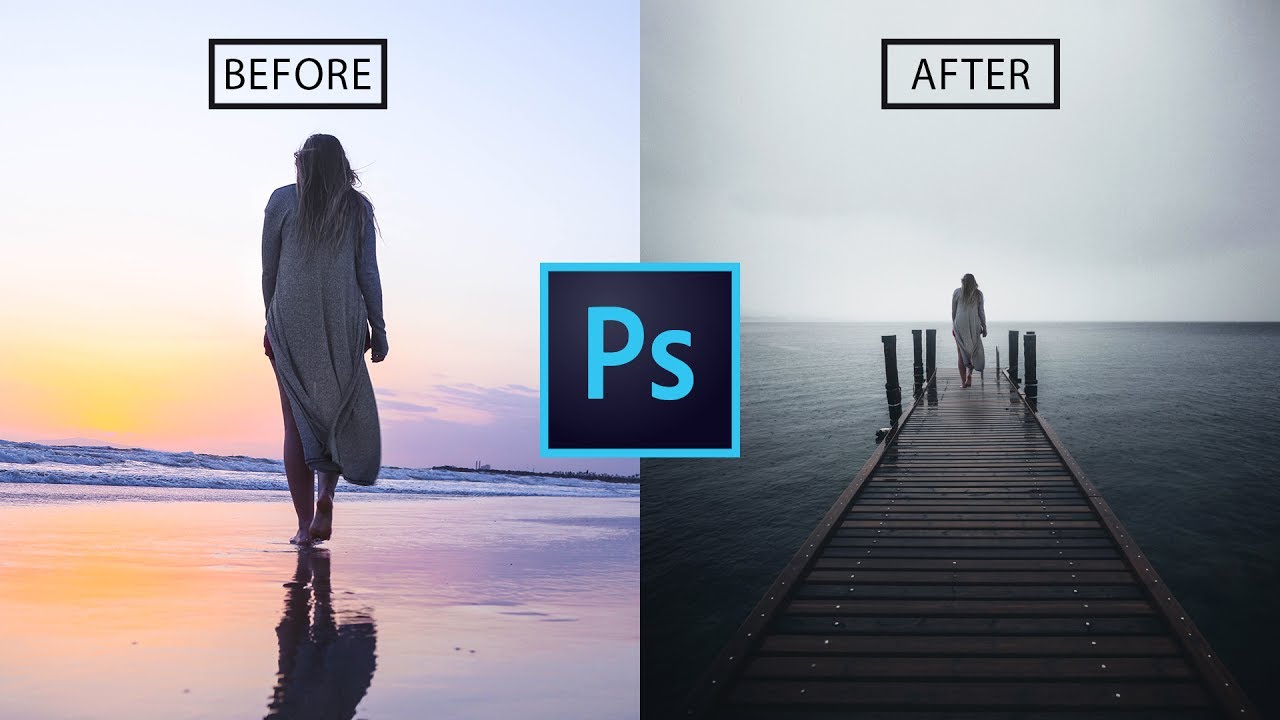
Credit: m.youtube.com
Credit: photoshopcafe.com
Frequently Asked Questions On How To Add A Person To A Photo In Photoshop
How Do I Add A Person To An Existing Photo?
To add a person to an existing photo, use photo editing software like Photoshop or GIMP. Open the photo, select the person to be added, and copy them into the original photo. Adjust the size and position to blend in seamlessly.
Save the edited photo.
How Do I Paste Someone Into A Photo In Photoshop?
To paste someone into a photo in Photoshop, use the “Paste Into” command after selecting the person, then adjust size and position.
Can I Photoshop A Person Into A Picture?
Yes, you can use Photoshop to add a person into a picture. It is a common editing technique to enhance or alter images.
How To Remove A Person From A Photo And Add Another In Photoshop?
To remove a person from a photo and add another in Photoshop, use the “clone stamp” tool to erase the original person and the “lasso” tool to select and insert the new person. Adjust lighting and shadows for a seamless addition.
Conclusion
In a snap, you can transform ordinary photos into extraordinary ones. By adding a person in Photoshop, you unlock a world of creativity and storytelling. With the right techniques, you can seamlessly blend images and evoke strong emotions. Embrace the power of photo manipulation, and let your imagination run wild!